Map data into Destiny templates
After you've configured sites, you can map data into the Destiny Resource Manager Mobile Device Management (MDM) Integration feature.
|
Note: If you have never logged in to your account via the Destiny Resource Manager MDM Integration feature, first you need to configure Google Workspace connectivity. |
To access the Destiny Resource Manager MDM integration homepage:
- Log in as a Destiny Administrator.
- Select Setup > Sites sub tab.
- Next to the district name, click the Edit icon,
 . The Edit District page appears.
 - Under Resource Management, click Configure.
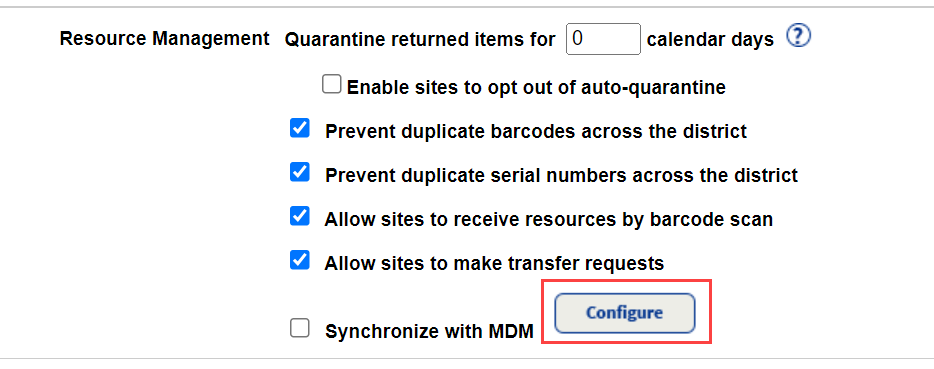
The Mobile Device Management integration homepage appears.
- At the top-right of the Mobile Device Management homepage, use the Account Setup drop-down to select your MDM.
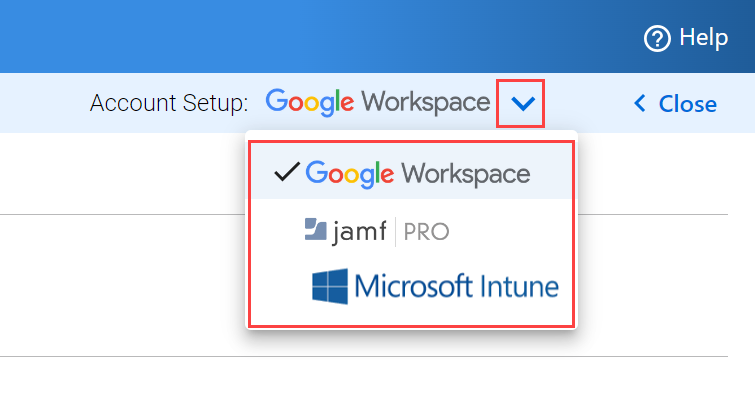
Note: Destiny will remember your MDM selection.
To map your configured Google Workspace data to a Resource Manager template:
- Click Map Account Data into Destiny Templates. The Data Mapping page appears.
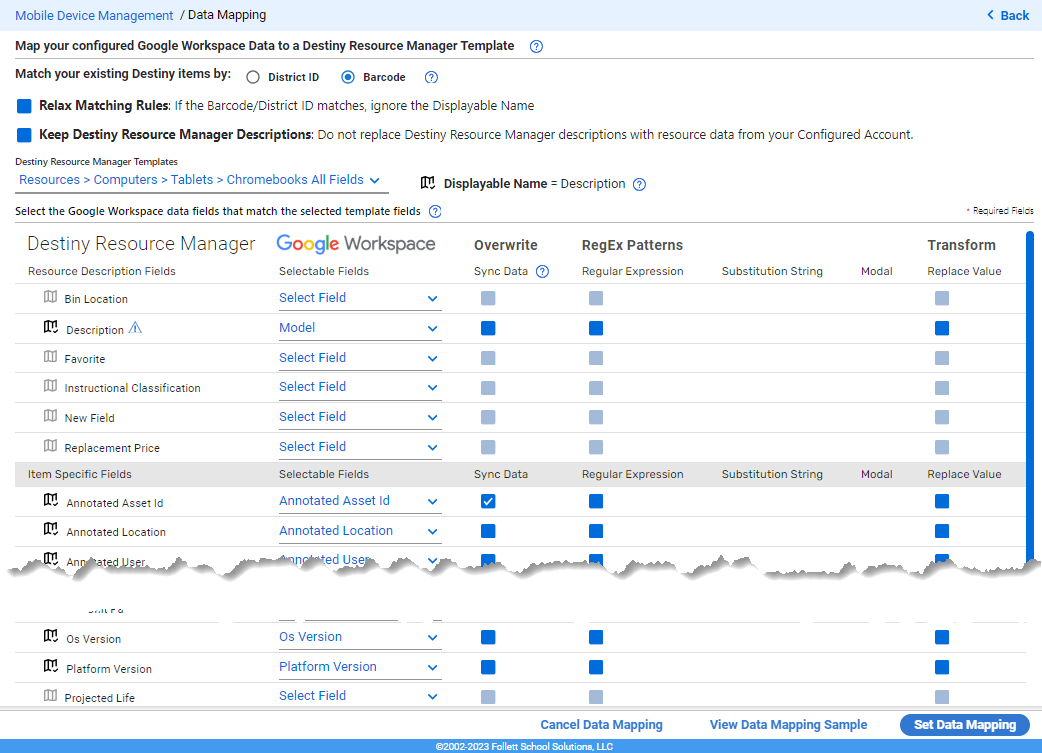
- To match your existing Destiny items, select District ID or Barcode.
Important: Add Item will NOT be supported if the barcode already exists elsewhere in the district, EVEN IF the district has "Prevent duplicate barcodes across the district" turned off. - To ignore the Displayable Name, and ONLY match on District ID and Barcode, select the Relax Matching Rules checkbox.
Note:The Displayable Name in your MDM system might not be exactly how you want it in Destiny. For example, you might want the Google Workspace values of Asus Chromebook 2550 and Asus Chromebook 2560 to appear as Asus Chromebook in Destiny. Use the Transform function, instead of relaxed matching rules, to match incoming data to existing data and to ensure desired matching when new items are added in the future. - If you do not want to replace Destiny descriptions with resource data from your configured account, select the Keep Destiny Resource Manager Descriptions checkbox.
- Under Destiny Resource Manager Templates, click the drop-down, and select the Destiny Resource Manager template you want to map data to.
- In the table, for each of the Resource Description field you want to change, use the Selectable Fields drop-down to select a Google Workspace field.
Available FieldsNotes:
- Fields marked with an * is a required field and must be mapped.
- Fields marked with an
 make up part of the Displayable Name. At least one of these fields must be populated.

- To overwrite a Selectable Field for Resource Description or Item Specific Fields, select the checkbox in its row.
Important: If the Sync Data checkbox is selected, the value from the MDM system is always overwritten in subsequent updates. If you want to use the MDM value as the default value only when the item is created in Destiny, letting Destiny manage the data, deselect the checkbox to prevent data from being overwritten in subsequent updates. - To add regex patterns to a Selectable Field for Resource Description or Item Specific Fields, select the Regular Expression checkbox. The RegEx Pattern Editor pop-up appears.
- Type the requested information into the RegEx Pattern Editor:
- RegEx Pattern
- Substitution String (Optional)
- Data Sample String
- Click Save RegEx Pattern.
Important: Using RegEx is complicated. If done incorrectly, it can cause complications. - Type the requested information into the RegEx Pattern Editor:
- To add if/then conditional mapping to a Selectable Field, select the Transform checkbox in the appropriate row. The Transform Field Values pop-up appears.
- Type the Actual Field Value and the Custom Field Value to set the conditions.
- Click Save Transform Settings.
Notes:
- If data in your MDM and Destiny isn't exactly the same, the Transform function allows incoming data to match existing data in Destiny on the initial synchronization, and prevents the creation of unwanted data in Destiny when new devices are added. This is important for the Displayable Name fields in Destiny, but also applies to any field where you want to manipulate the data.
- To add or remove additional conditions, click
 or
or  .
. To edit existing if /then conditional mapping, click
 .
.
- To stop mapping the template fields and delete the selections, click Cancel Data Mapping.
- To see a preview of the mapped data, click View Data Mapping Sample.
- When finished, click Set Data Mapping.